Here are the step-by-step instructions to set up Microsoft Authenticator for Office 365 MFA:
Install Microsoft Authenticator
- Go to your device’s app store (App Store for iOS or Google Play Store for Android)
- Search for “Microsoft Authenticator” – it will have a blue lock icon and is free to download.
- Download and install the app on your mobile device.

Prepare your Office 365 Account
1. On your computer, sign in to your Office 365 account by visiting https://portal.office.com

2. Once signed in, click here to add Microsoft Authenticator as a sign-in method for your account.
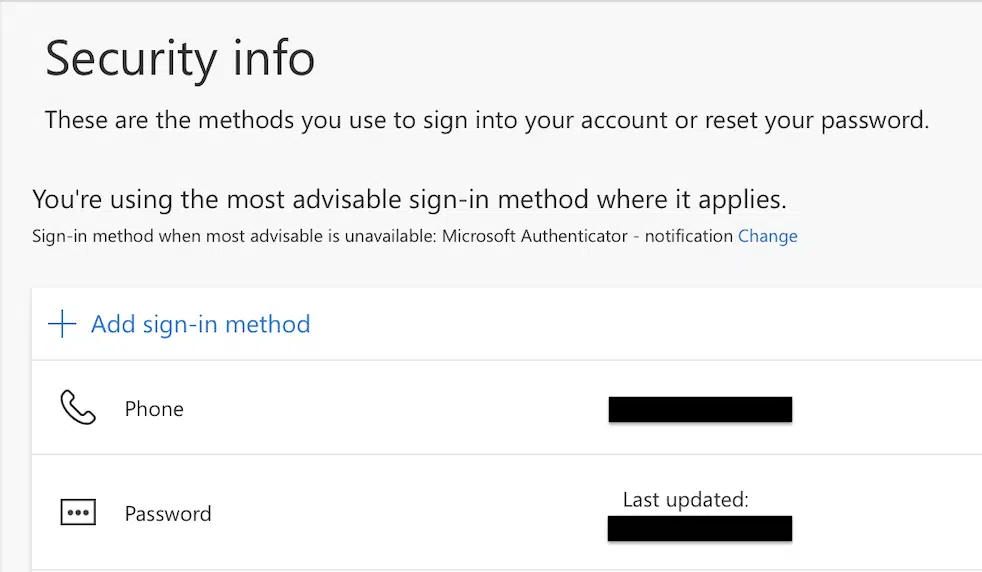
3. Click Add Sign-in Method.
4. Select Authenticator App and click Add.
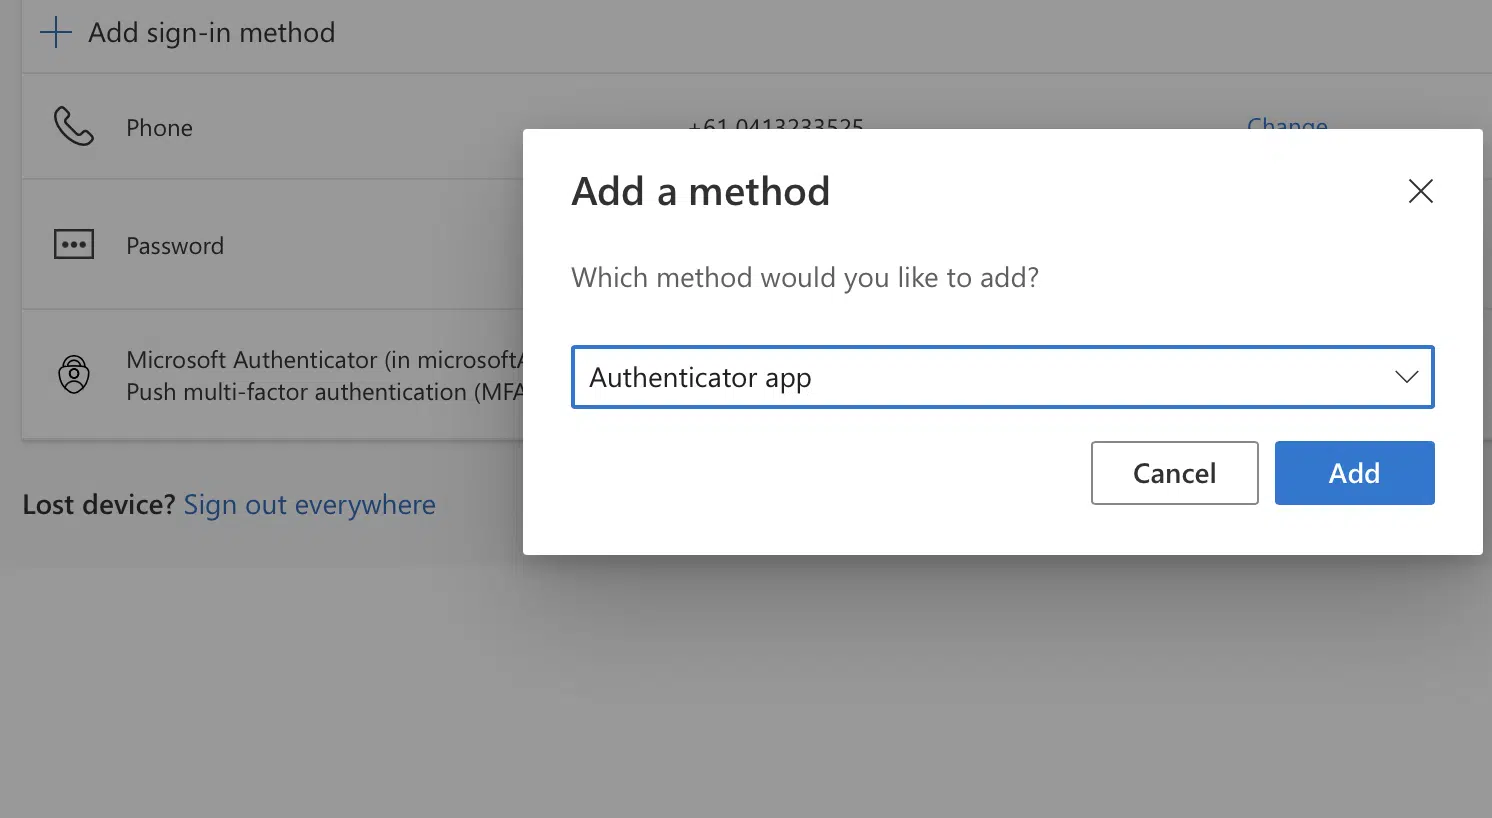
5. On the Start by getting the Microsoft authenticator app pop-up, click Next.
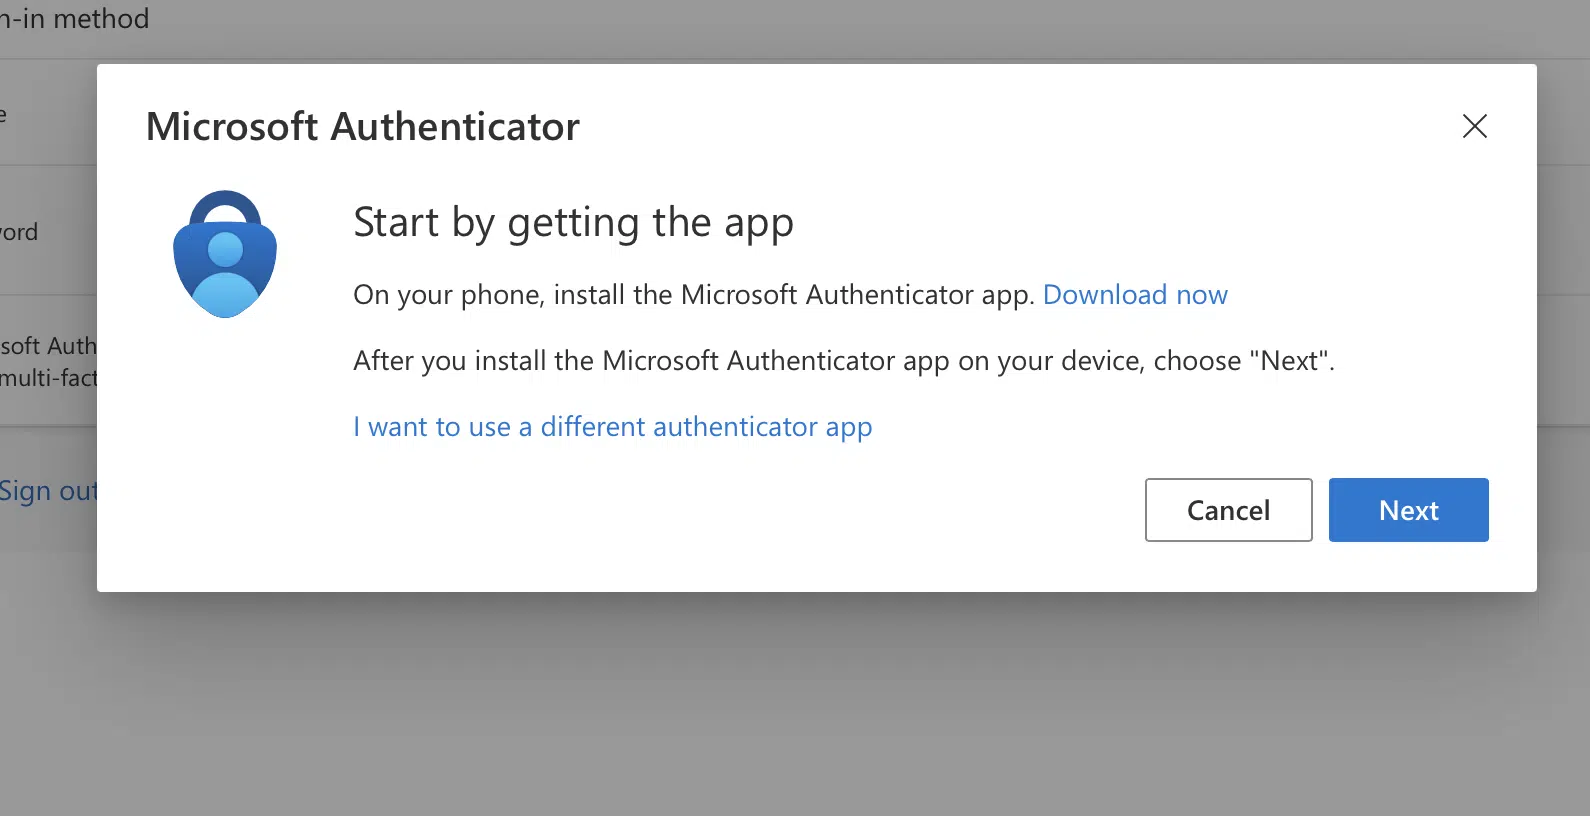
6. Click Next again.

7. Now, pick up your phone and point the camera at the QR code displayed. Once you have scanned the QR code, click next.
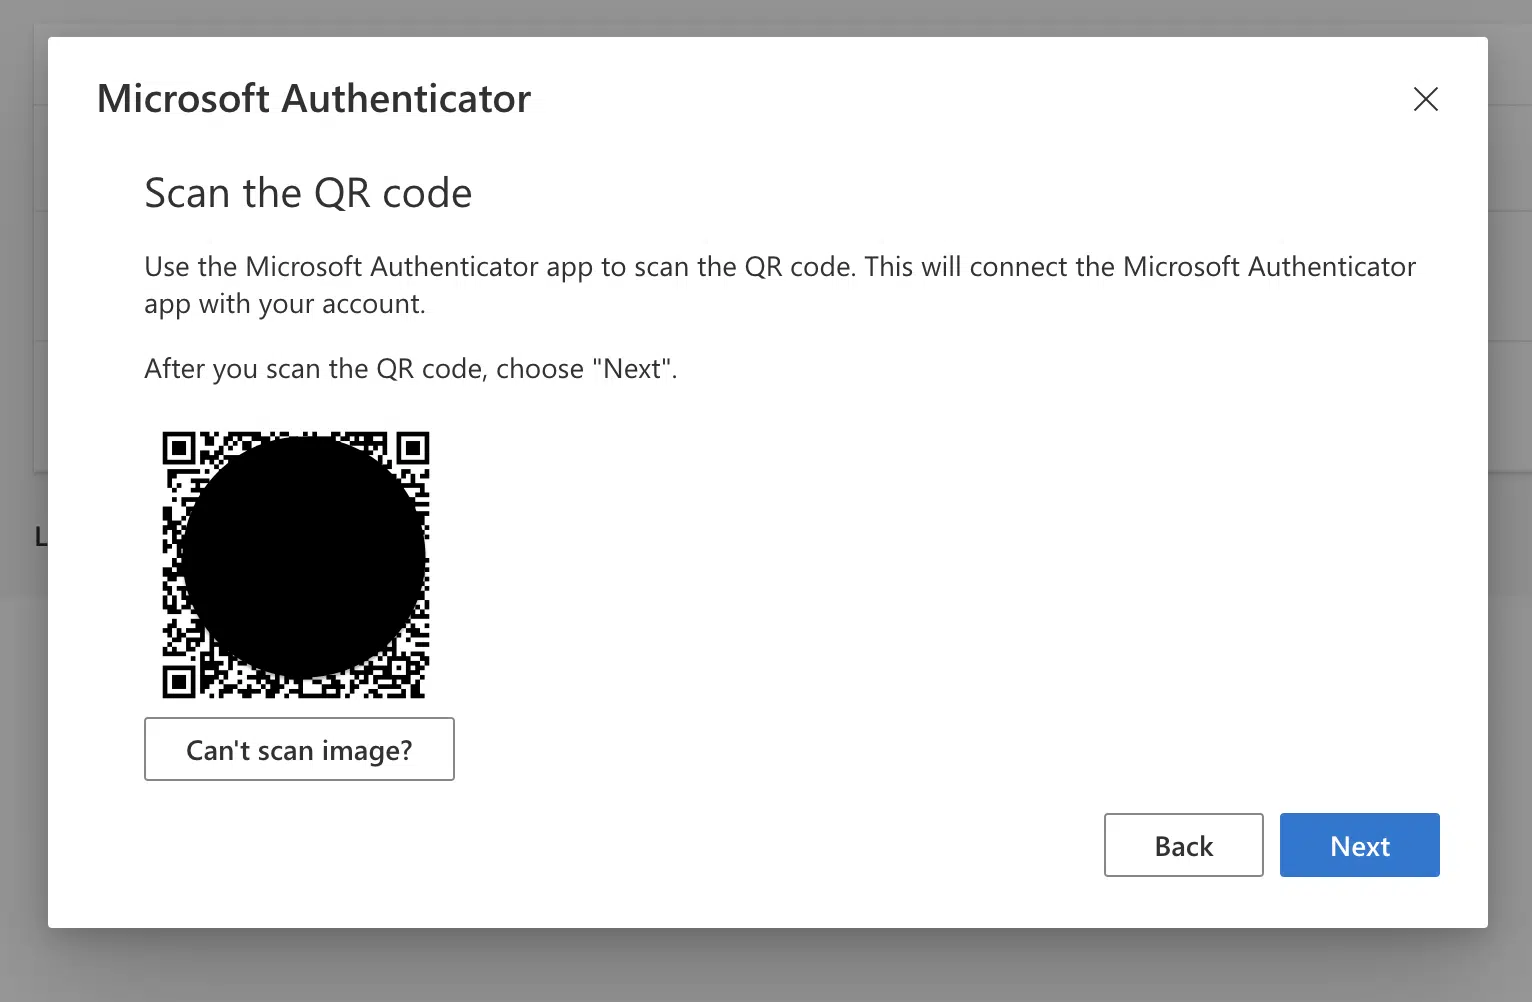
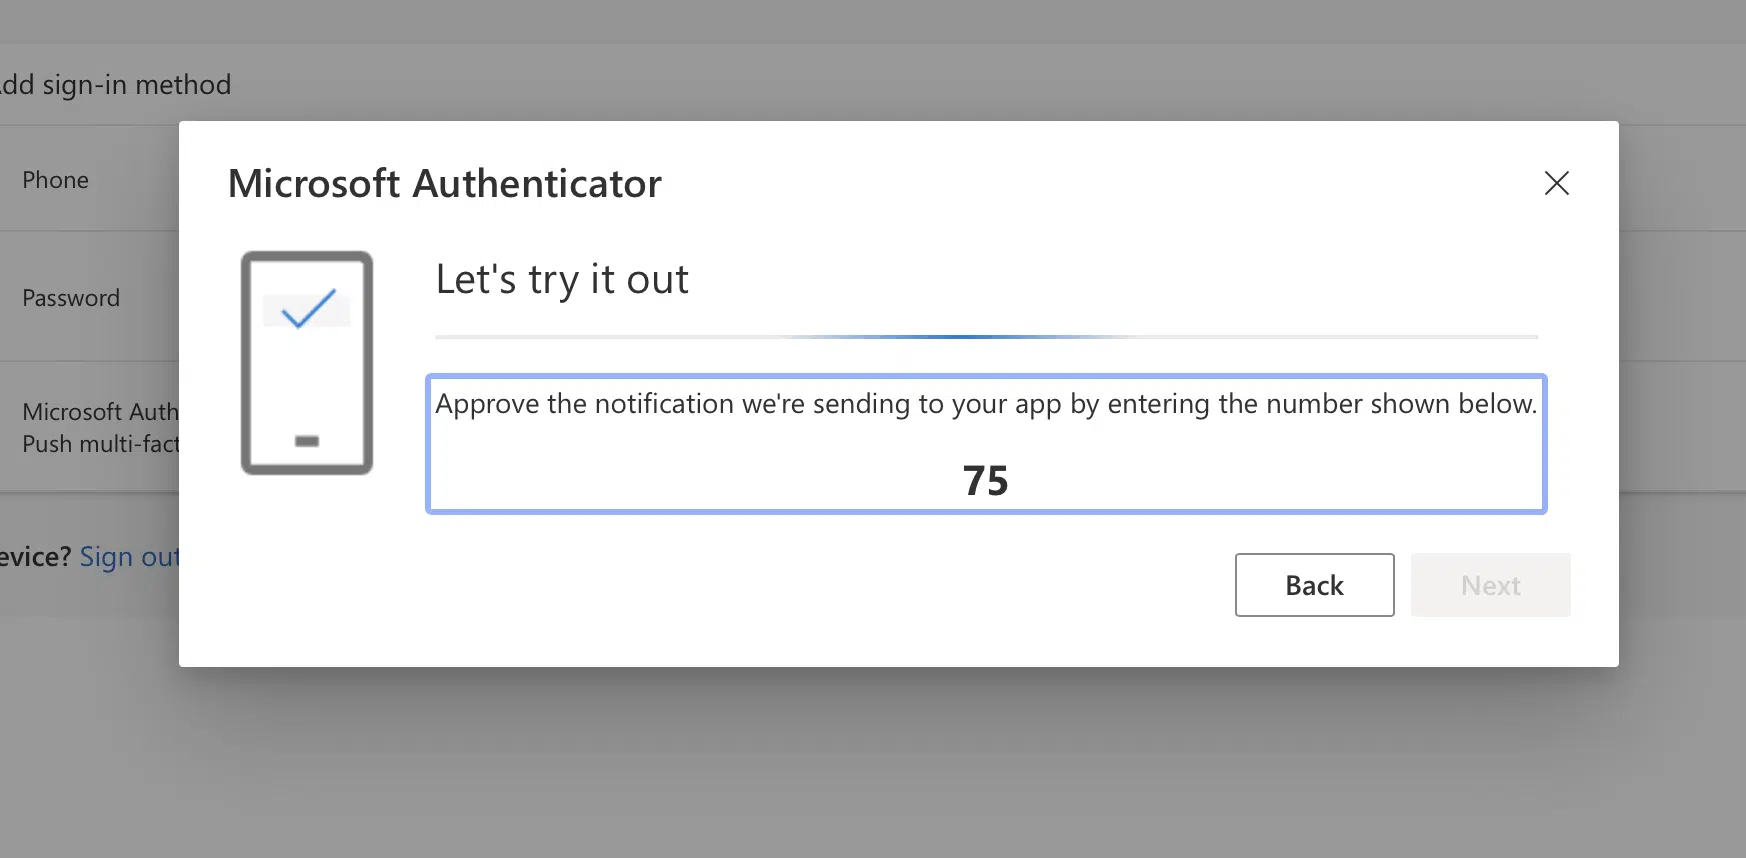
8. To test that you have linked the app correctly, you will get a push notification from the app which will ask you to input the displayed number on your computer. Type the number into your app and approve the login.

Congratulations! You have now successfully added Microsoft Authenticator as a Multi-factor Sign-in Method.
From now on, every time you sign into a new device, you will be prompted to add the number displayed on your mobile device. This adds an extra layer of security to your sign-in and is much more secure than SMS authentication.


